
In this topic, we’ll discuss how to manage the Content Filtering settings on an individual user level.
What is Content Filtering?
Content Filtering is an option available within SmarterMail to create individual rules that filter inbound email before it gets to your inbox. Can filter by keywords within the body or subject or by sending email address or domain.
Content Filtering
1. You will first need to login to the Webmail interface at https://securemail.mylucidtech.com
2. Once logged in, in the top menu, click on "More", then select "Settings".

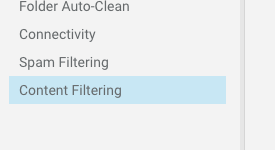
3. Now within the settings, in the left-hand menu, click on "Content Filtering".
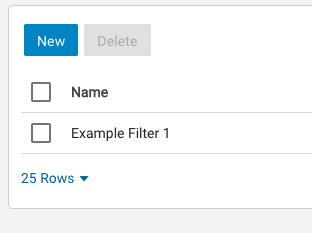
4. You should now see a list of existing content filters (if any), as well as the option to add a new filter by clicking on ‘New’.
Note: To edit an existing filter just single click on the filter you wish to edit.
5. You will be presented with three tabs with optional fields for each. Let’s go over the first tab first:
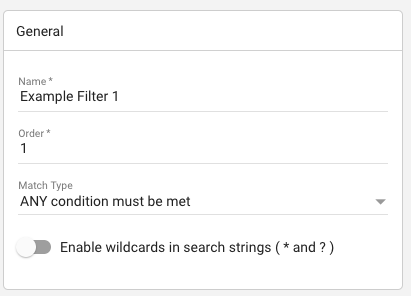
The General tab has the following settings:
- Name: The ‘name’ field will be the name of the content filter. Anything caught by the filter will show up in the logs as being caught by the [name] of this filter.
- Order: The order states what filter(s) should be looked at first. For example some users may wish to have several filters setup, where one particular filter should be checked first and if caught it processes the ‘actions’ of that filter before making it to another filter that would’ve caused a different action set.
- Match Type: The Match Type feature determines if ALL conditions have to be met or just a single condition. For example if you have two filters setup, where filter A checks for keywords in the body of the email and filter B checks for a specific email address sending the e-mail, then setting this to ALL will require both conditions to be met… whereas setting this to ANY will allow either of these conditions to be met, but not necessarily all of the conditions.
- Enable wildcards in search strings: This feature setting allows you to use wildcards (* and ?) before or after a keyword, so that if anything LIKE the keyword is mentioned it will be caught in the filter. For example, if we have a filter for ‘spam*’, then ‘spam’ or ‘spamming’ would be caught.
6. Let’s move on to the second tab:
The Conditions tab allows you to set specific conditions that have to be met in order for the filter to activate. You can add as many ‘conditions’ as you desire. In Step #5 we went over the setting that determines if any or all conditions have to be met.
You can add a new condition by clicking on the ‘+ New Condition’ button, as well as you can edit an existing condition by single clicking on the condition in question.
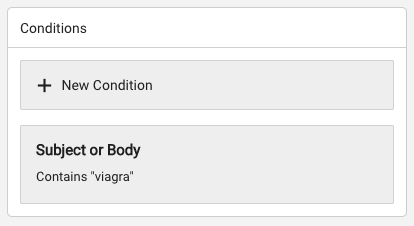
There is a huge list of different condition options, which you will be presented when creating a new condition or updating an existing condition.
7. Now that we’ve set our conditions we must visit the last tab to tell the filter how to handle the e-mail coming in if the conditions for the filter have been met:
This tab is called Actions and will control how the message is handled… such as whether we wish to delete the message entirely, or deliver it to another inbox such as the ‘Junk Email Folder’.
You can add a new action by clicking on the ‘+ New Action’, as well as you can edit an existing action by single clicking on the action in question.
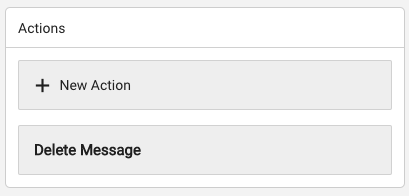
There is several action options available, which as you can see from the screenshot above we are deciding to delete the message entirely.
You should now understand how to create and manage user-level content filters for your domain.